 Self-Hosted Download Manager with Web Dashboard & File Browser
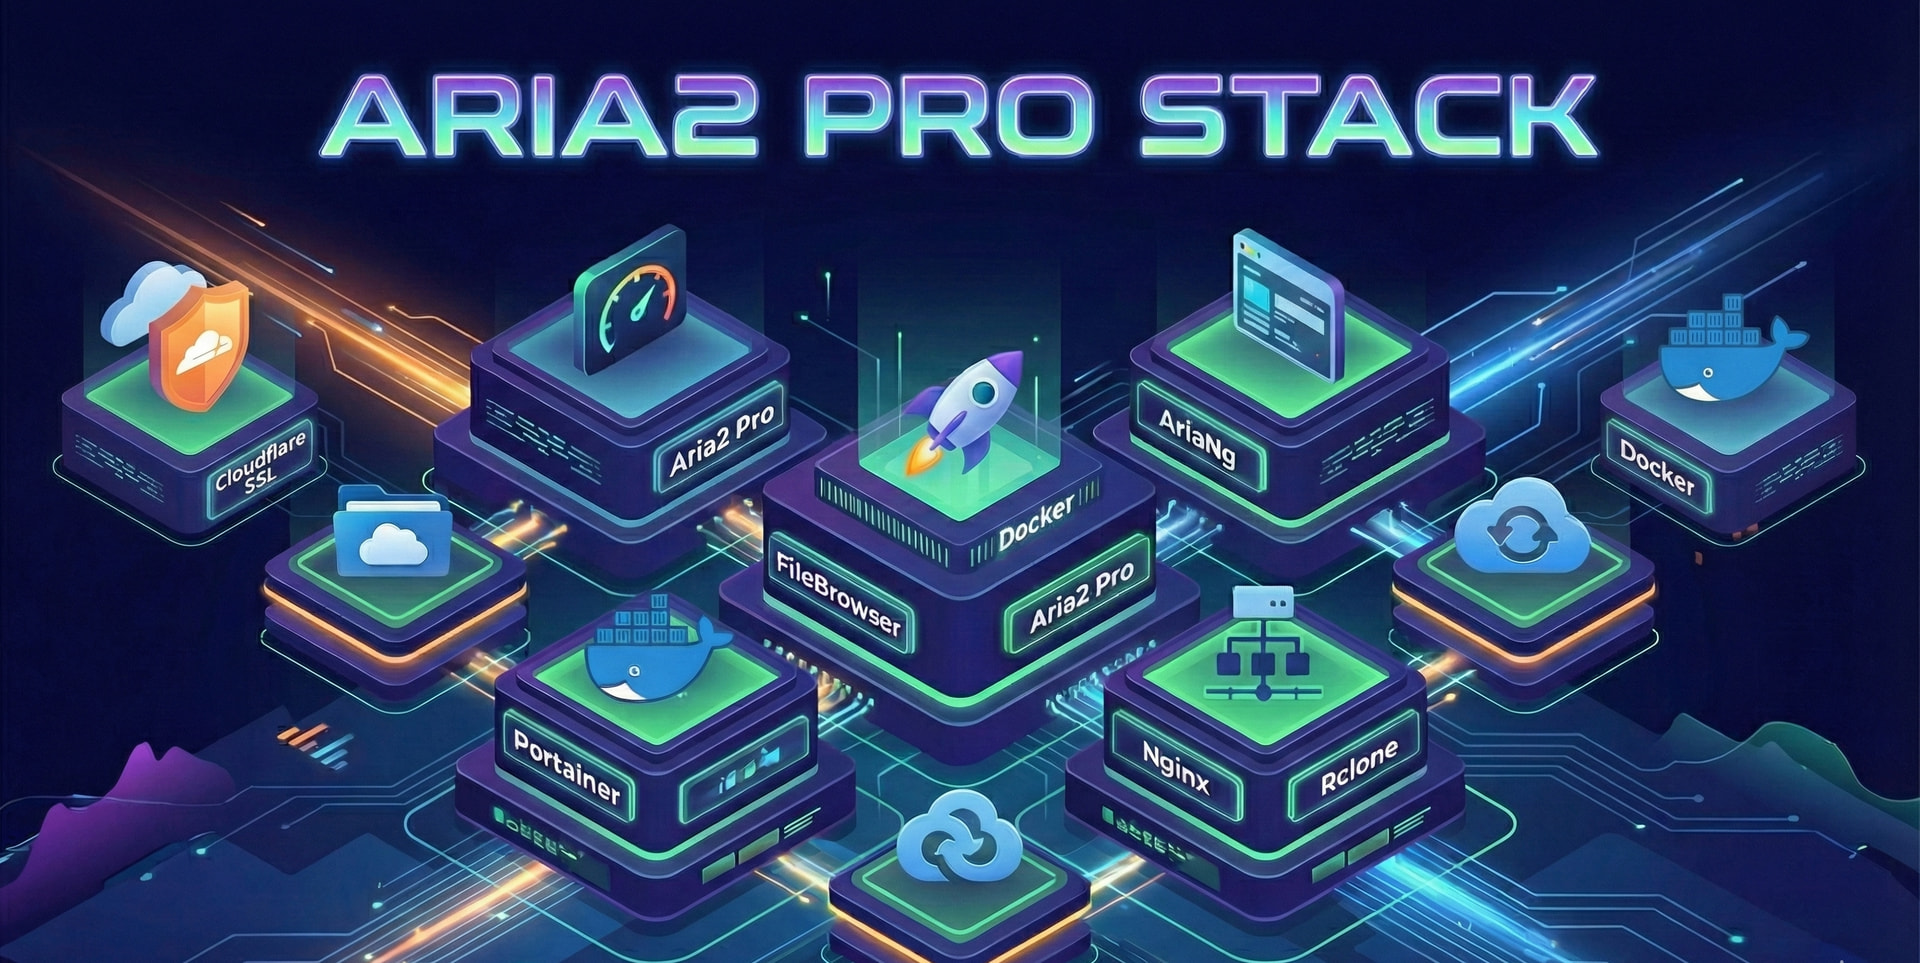
![]() Turn Any VPS Into a Personal Seedbox with Browser Access
Turn Any VPS Into a Personal Seedbox with Browser Access
One-Line Flow: Your own private download server — torrents, direct links, cloud sync — all from a browser, anywhere.
Why this matters:
Ever wanted to download massive files to a server instead of your laptop? Queue up torrents while you sleep? Access everything from your phone? This stack gives you a Netflix-style “download anywhere” setup — except YOU own the server, the files, and the zero monthly fees. One afternoon of setup, years of “why didn’t I do this sooner.”
 What You’re Getting
| Tool | What It Does |
|---|---|
| Aria2 Pro | Downloads everything — torrents, magnets, direct links, even multi-part files |
| AriaNg | Pretty web dashboard to manage downloads from anywhere |
| FileBrowser | Browse/share your downloaded files like Google Drive |
| Portainer | Visual Docker manager (no terminal needed after setup) |
| Rclone | Auto-sync downloads to cloud storage (optional) |
| Nginx + SSL | Makes everything secure and accessible via your domain |
 Before You Start
What You'll Need
Your Server:
- Ubuntu 20.04/22.04 or Debian 11/12
- Root access (or sudo)
- 1GB RAM minimum (2GB+ better)
Your Network:
- A domain pointed through Cloudflare
- Ports open: 80, 443, 6800, 6888
 Step 1: Get Your SSL Certificate (Free, 15-Year)
Cloudflare gives you a free certificate that lasts 15 years. Yes, really.
Cloudflare Certificate Setup
- Login to Cloudflare Dashboard
- Select your domain
- Go to SSL/TLS → Origin Server
- Click Create Certificate
- Choose “Generate private key and CSR with Cloudflare”
- Hostnames:
*.yourdomain.comandyourdomain.com - Save both files:
- Certificate →
aria2.pem - Private Key →
aria2.key
- Certificate →
The private key shows ONCE. Copy it immediately or start over.
 Step 2: Install Docker
Docker Installation Commands
# Install Docker
curl -fsSL https://get.docker.com | bash

# Enable on boot
systemctl enable --now docker

# Verify it worked
docker compose version
# Should show: Docker Compose version v2.x.x
 Step 3: Create Your Folder Structure
Directory Setup
# Create all folders
mkdir -p /home/ubuntu/aria2-config/aria2
mkdir -p /home/ubuntu/aria2-config/nginx/conf.d
mkdir -p /home/ubuntu/aria2-config/certs
mkdir -p /home/ubuntu/aria2-config/rclone
mkdir -p /home/ubuntu/aria2-downloads

# Go to working directory
cd /home/ubuntu/aria2-config
What you’ll end up with:
/home/ubuntu/
├── aria2-config/        ← All config files live here
│   ├── aria2/
│   ├── nginx/conf.d/
│   ├── certs/           ← Your SSL files go here
│   └── rclone/
└── aria2-downloads/     ← Your downloaded files
 Step 4: Create Configuration Files
You need 4 files. Copy-paste each one.
📄 File 1: docker-compose.yml
nano docker-compose.yml
Paste this entire block:
services:

  # Download engine
  aria2-pro:
    container_name: aria2-pro
    image: p3terx/aria2-pro
    environment:
      - PUID=0
      - PGID=0
      - UMASK_SET=022
      - RPC_SECRET=YourSecretToken    # 🔴 CHANGE THIS!
      - RPC_PORT=6800
      - LISTEN_PORT=6888
      - DISK_CACHE=64M
      - IPV6_MODE=false
      - UPDATE_TRACKERS=true
      - CUSTOM_TRACKER_URL=
      - TZ=America/New_York           # 🔴 CHANGE THIS!
    volumes:
      - ./aria2:/config
      - /home/ubuntu/aria2-downloads:/downloads
    ports:
      - "6800:6800"
      - "6888:6888"
      - "6888:6888/udp"
    networks:
      - aria2-net
    restart: always

  # SSL & routing
  nginx-proxy:
    image: nginx:alpine
    container_name: nginx-proxy
    ports:
      - "80:80"
      - "443:443"
    volumes:
      - ./nginx/conf.d/default.conf:/etc/nginx/conf.d/default.conf:ro
      - ./certs:/etc/nginx/certs:ro
      - /home/ubuntu/aria2-downloads:/usr/share/nginx/html/downloads:rw
    networks:
      - aria2-net
    restart: always

  # File manager
  filebrowser:
    image: filebrowser/filebrowser
    container_name: filebrowser
    environment:
      - FB_BASEURL=/download
    volumes:
      - /home/ubuntu/aria2-downloads:/srv
      - ./filebrowser.db:/database/filebrowser.db
      - ./settings.json:/config/settings.json
    networks:
      - aria2-net
    restart: always

  # Docker manager
  portainer:
    image: portainer/portainer-ce:latest
    container_name: portainer
    command: -H unix:///var/run/docker.sock
    volumes:
      - /var/run/docker.sock:/var/run/docker.sock
      - portainer_data:/data
    networks:
      - aria2-net
    restart: always

networks:
  aria2-net:
    driver: bridge

volumes:
  portainer_data:
![]() You MUST change:
You MUST change:
RPC_SECRET→ Your own password (remember this!)TZ→ Your timezone
📄 File 2: settings.json
nano settings.json
{
  "port": 80,
  "baseURL": "/download",
  "address": "",
  "log": "stdout",
  "database": "/database/filebrowser.db",
  "root": "/srv"
}
Then create the empty database:
touch filebrowser.db
📄 File 3: nginx/conf.d/default.conf
nano nginx/conf.d/default.conf
server {
    listen 80;
    listen 443 ssl;
    server_name yourdomain.com;    # 🔴 CHANGE THIS!

    ssl_certificate /etc/nginx/certs/aria2.pem;
    ssl_certificate_key /etc/nginx/certs/aria2.key;

    # AriaNg dashboard
    location / {
        root /usr/share/nginx/html;
        index index.html;
    }

    # FileBrowser
    location /download/ {
        proxy_pass http://filebrowser:80;
        proxy_set_header Host $host;
        proxy_set_header Upgrade $http_upgrade;
        proxy_set_header Connection "upgrade";
    }

    # Portainer
    location /portainer/ {
        proxy_pass http://portainer:9000/;
        proxy_set_header Host $host;
        proxy_set_header Upgrade $http_upgrade;
        proxy_set_header Connection "upgrade";
    }

    # Aria2 RPC
    location /jsonrpc {
        proxy_pass http://aria2-pro:6800/jsonrpc;
        proxy_set_header Host $host;
        proxy_set_header Upgrade $http_upgrade;
        proxy_set_header Connection "upgrade";
    }
}
![]() Change
Change yourdomain.com to your actual domain.
📄 File 4: rclone/rclone.conf (Optional)
Only needed if you want auto-upload to cloud storage.
Option A: Already have Rclone configured? Copy your existing ~/.config/rclone/rclone.conf contents.
Option B: Generate fresh config on your local machine:
curl https://rclone.org/install.sh | sudo bash
rclone config
Then paste the output into rclone/rclone.conf on your server.
 Step 5: Deploy Everything
Launch Commands
1. Put your SSL certificates in place:
/home/ubuntu/aria2-config/certs/aria2.pem
/home/ubuntu/aria2-config/certs/aria2.key
2. Launch:
cd /home/ubuntu/aria2-config
docker compose up -d
3. Verify everything’s running:
docker ps --format "table {{.Names}}\t{{.Status}}"
You should see all 4 containers with “Up” status.
 Step 6: Access Your Stack
| Service | URL |
|---|---|
| AriaNg Dashboard | https://yourdomain.com |
| FileBrowser | https://yourdomain.com/download/ |
| Portainer | https://yourdomain.com/portainer/ |
🔧 Connect AriaNg to Aria2
- Open
https://yourdomain.com - Go to AriaNg Settings → RPC
- Set:
- Address:
wss://yourdomain.com/jsonrpc - Secret: Your
RPC_SECRETfrom docker-compose.yml
- Address:
- Click Reload
Green status = you’re in.
🔑 Default Logins
| Service | Username | Password | Action |
|---|---|---|---|
| FileBrowser | admin |
Create 12 Digit | Change immediately |
| Portainer | ’ admin ’ | Create 12 Digit | Create account on first visit |
 Troubleshooting
Port 80/443 Already in Use
# Find what's using the ports
sudo lsof -i :80
sudo lsof -i :443

# Kill common culprits
sudo systemctl stop apache2
sudo systemctl stop nginx
SSL Certificate Errors
# Check files exist
ls -la /home/ubuntu/aria2-config/certs/

# Fix permissions
chmod 644 /home/ubuntu/aria2-config/certs/aria2.pem
chmod 600 /home/ubuntu/aria2-config/certs/aria2.key
RPC Connection Failed
- ✓
RPC_SECRETmatches in both docker-compose.yml AND AriaNg settings - ✓ Using
wss://(notws://) since you’re on HTTPS - ✓ Container running:
docker ps | grep aria2
Useful Docker Commands
# View logs
docker compose logs -f

# Restart everything
docker compose restart

# Stop everything
docker compose down

# Nuclear option (rebuild)
docker compose up -d --force-recreate

# Check resource usage
docker stats
 Resources
- Aria2 Pro Docker — The core engine
- AriaNg — The web UI
- FileBrowser Docs — File manager docs
- Rclone Docs — Cloud sync bible
- Portainer Docs — Docker management
Got stuck? Drop your docker compose logs output below — way easier to debug with actual errors. ![]()
 !
!