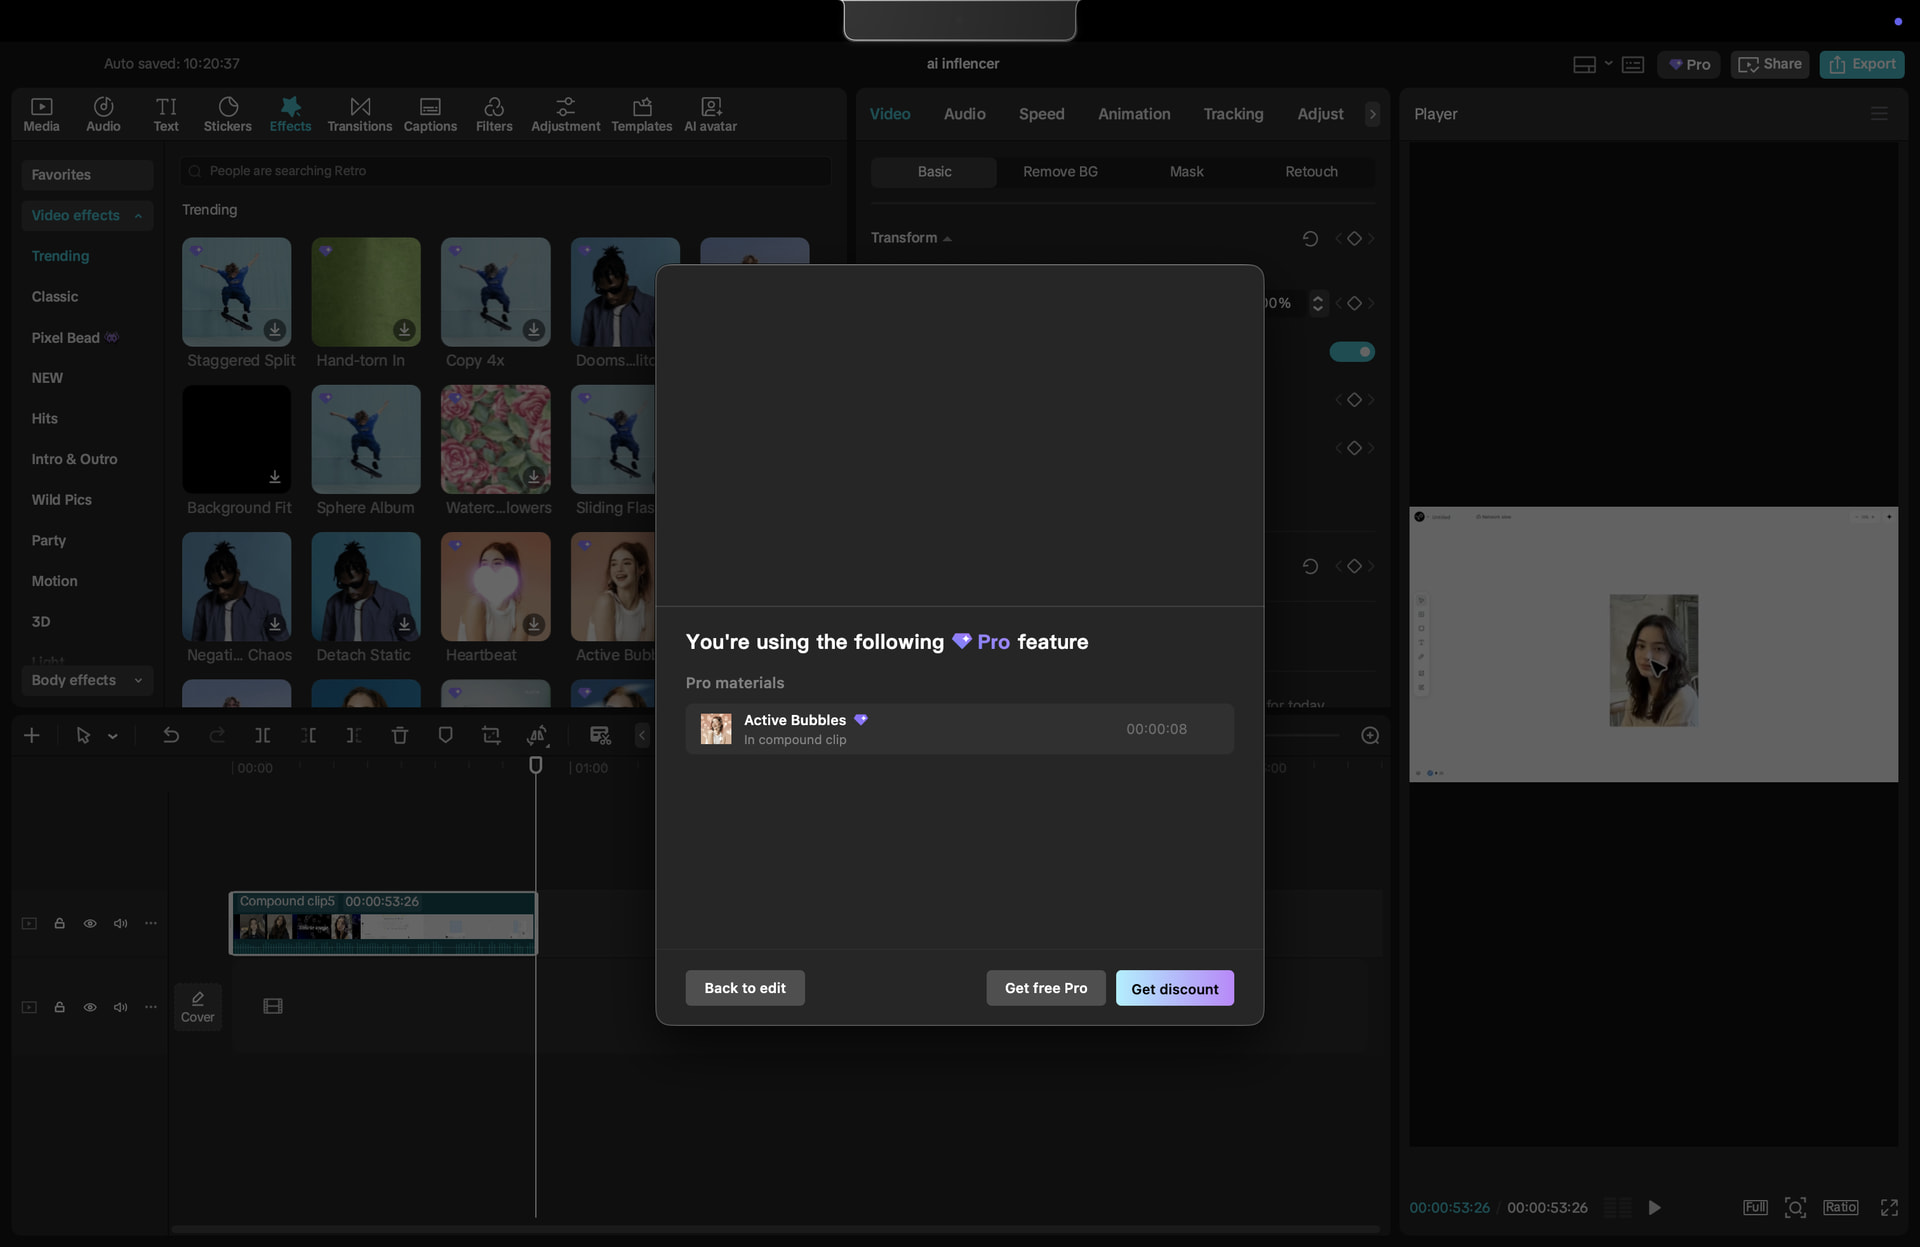
CapCut can let you preview Pro elements, then ask you to subscribe at export. This workaround uses the video CapCut renders while preprocessing a compound clip, imports it back into the normal desktop app, and tries to export that single clip.
It is an unofficial workaround, not a Pro unlock, and it may stop working after an update.
What to expect
Guide tested on
Windows desktop
Extra tools
File Explorer only
Result
A single rendered clip
Editable layers
Keep your original project for these
Success
Depends on the project and CapCut version
Before starting: save your project. If CapCut offers a way to duplicate it, run these steps on the duplicate. Don’t count on Undo restoring your layers after closing and reopening the app.
Step 1 — Preprocess the finished edit
Click your timeline and press Ctrl + A to select the clips.
Right-click → Create compound clip.
Right-click the compound clip → Preprocess compound clip.
Wait until preprocessing reaches 100%. Keep CapCut open while it runs.
Step 2 — Find the rendered file
Open File Explorer and look inside your project’s Resources\combination folder. With CapCut’s usual Windows save location, start here:
Open your project folder, then Resources → combination. If you changed where CapCut saves projects, look in your chosen project location instead.
Find the regular .mp4 file. Do not use the one ending in .mp4.alpha.mp4. Leave File Explorer open.
Step 3 — Close CapCut, then reimport
Save and fully close CapCut—both the editor and its home window.
Reopen CapCut and open the same project.
Import the regular .mp4 you found, place it on the timeline, and remove the original compound clip from the working copy.
Try exporting. Watch the finished file and check the picture, sound, timing, and resolution before using it.
The close-and-reopen step matters: importing the cached file while CapCut is still open has produced a damaged-file error.
Claims to ignore
“Every Pro feature is guaranteed.” I haven’t verified every effect, audio item, or export setting.
“It gives you CapCut Pro.” Your account’s subscription status does not change.
“It works for everyone on Mac.” One Mac member reported success; another, using CapCut 9.4.0 on an M4 Pro, still could not import the .mp4 after following the steps and reinstalling.
“A successful export grants rights to paid assets.” Check the terms for any music or stock material you plan to publish.
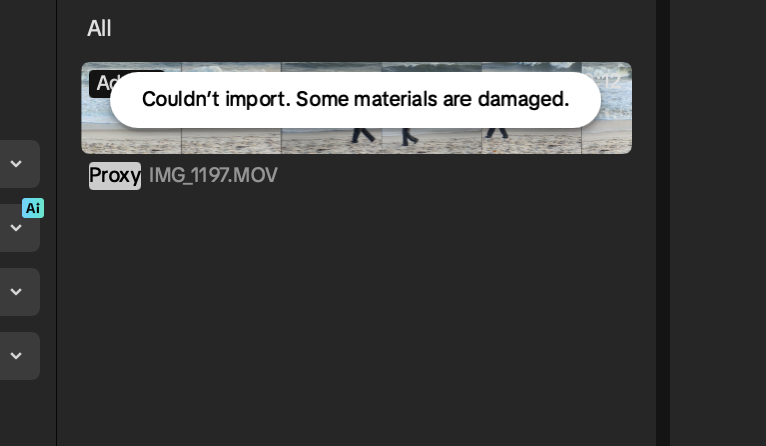
“Some materials are damaged”? Confirm preprocessing reached 100%, select the file without alpha in its name, and make sure CapCut was fully closed before reimporting. If the error remains, keep your editable project and assume this method does not work with that setup. Reinstalling did not fix it for the member who reported the Mac error.
Summary Compound clip → preprocess to 100% → locate the regular .mp4 → fully close CapCut → reopen the same project → reimport → test export. Keep the original edit safe until you’ve checked the final video.
Here is the step-by-step method to use CapCut Pro features for free on a Mac by extracting the pre-rendered cache file directly from your system folders.
Step 1: Pre-Process the Video inside CapCut
Open your project on your Mac and add any Pro features or effects you want.
Click anywhere on your editing timeline and press Command + A to select every single track (video, audio, text, effects).
Right-click the highlighted clips and select Create Compound Clip.
Right-click your new compound clip and select Pre-process compound clip (or Reprocess).
Look closely at the top of the preview player—wait for the progress bar to reach 100%. Do not close CapCut or leave the timeline until it finishes, or the file will break.
Rename your project to something distinct (like “FinalVideoFree”) so you can easily spot it in your Mac system folders.
Step 2: Grab the Hidden File in macOS Finder
Minimize CapCut and open Finder from your Mac.
In the top Apple menu bar, click Go and select Home.
Open the Movies folder, then double-click CapCut user data.
Open the projects folder, then double-click the folder named com.lveditor.draft.
Inside, you will see folders named after your CapCut projects. Open the folder that matches the project file name or date you just edited.
Double-click the resources folder at the bottom, then open the combination folder.
You will see at least two video files. Copy the standard .mp4 file (ignore the one that says alpha in its name).
Paste that file onto your Mac Desktop. You now have your fully edited video with Pro features active, in high quality, completely for free.
Thank you for your response and steps; however, I followed the instructions provided, and when I opened the com.lveditor.draft folder, I only found the root_meta_info.json file.
Please advise me on the best way to get it. Thanks in advance.
Your soonest reply is appreciated.
Here is exactly why you are only seeing that single file, and how to fix it!
The Problem:
The file root_meta_info.json is a main “registry” file that CapCut uses to keep track of your project list. It sits in the main com.lveditor.draft folder. Your actual video clips are hidden inside subfolders located right next to that JSON file. If you see absolutely nothing else, you either missed a step inside CapCut, or you need to dig one level deeper.
Follow this exact roadmap to get your video:
Step 1: Make sure the file actually exists.
If the com.lveditor.draft folder is completely bare except for that JSON file, CapCut did not actually generate the temporary video file.
Open CapCut and return to your editing timeline.
Right-click your compound clip and select Pre-process compound clip (or Reprocess).
Look at the very top of your preview player. You must wait for the rendering percentage bar to hit 100%.
Crucial: Do not close, minimize, or click away from CapCut until it finishes completely, or macOS will delete the cache file.
Step 2: Dig into the correct project folder
Once rendering hits 100%, go back to Finder and head to your path:
Movies > CapCut > User Data > Projects > com.lveditor.draft
Inside com.lveditor.draft, you should now see folders alongside your JSON file. They are usually named with your Project Name or a string of random numbers/letters.
Tip: Change your Finder view to List View and click the Date Modified column header to sort by newest. Open the folder that matches the exact minute you finished editing.
Step 3: Extract the Video
Double-click your specific project folder to open it.
Open the folder named “resources”.
Open the folder named “combination”.
You will see your fully rendered .mp4 video files here! Copy the standard file to your desktop (skip the file that says alpha in the name).
Let me know if you still can’t see the project folders after letting the pre-process bar reach 100%!
I have gotten it, I looked at the folder where saved files are stored in my Mac (I changed it sometime ago) and that’s how I was able to find the video. Thank you for your help.
However, I noticed that the .alpha video is white and the normal video is not playable or doesn’t work/open/unrecognizable format even if its .mp4.
Do not open the .mp4 video, follow the below steps:
Phase 3 — Reimport and export clean
Leave the Explorer window open and completely close CapCut — save your project, then close both the project window and the home-screen window (or End Task in Task Manager to do it fast).
Reopen CapCut and go back into your project.
Import the .mp4 (not the alpha) into that same project.
Drop it on the timeline and delete the original compound clip.
Export — it should go through with no Pro warnings.
Done? Ctrl + Z afterwards to bring your editable project back if you want to keep working on it later.
Open Capcut, create a new project, and open the Finder folder where all Capcut project files are saved. Used a Pro Audio in my video project, selected both audio and video on the timeline. Right-click to create a Compound Clip and then right-click to Pre-process Compound Clip.
Waited until the process finishes (without clicking or changing screens), then closed Capcut and reopened it.
I opened the project, then tried to drag and drop the .mp4 (not the .alpha video) into the timeline or Import box in Capcut but was still getting the same error: “Couldn’t import. Some materials are damaged”.
I had to uninstall and reinstall Capcut, before starting all of the above, but to no avail

 What to expect
 Guide tested on
 Extra tools
 Result
 Editable layers
 Success
 Step 1 — Preprocess the finished edit
 Step 3 — Close CapCut, then reimport
 Claims to ignore
 “Every Pro feature is guaranteed.” I haven’t verified every effect, audio item, or export setting.
 Compound clip → preprocess to 100% → locate the regular
  brother, it is working.
 I was curious to try this app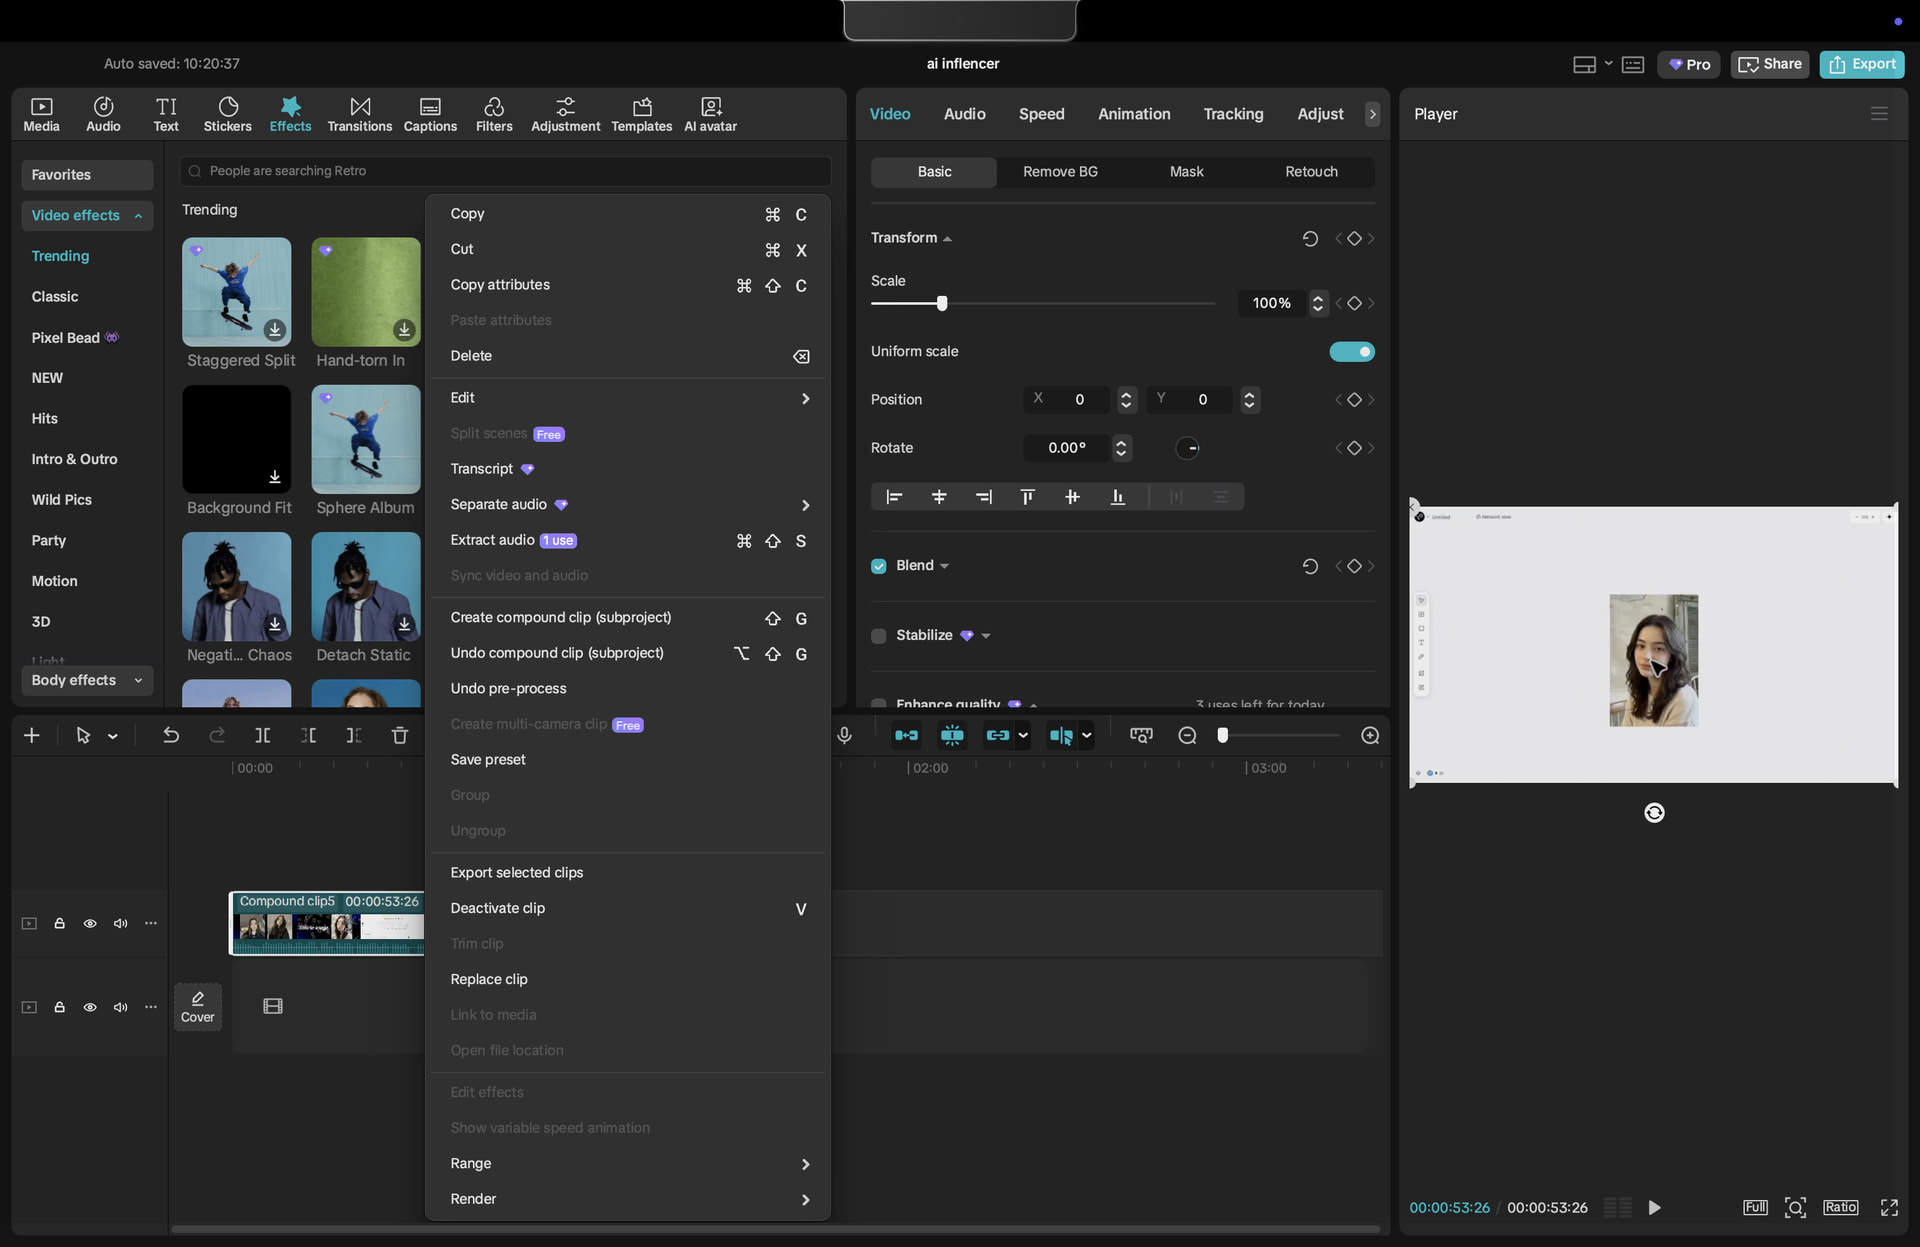

 !
!