@KiyotakaAyanokoji Hi, thank you so much for sharing. I have successfully logged in to the Outlook email provided by UMGC.
Although I am still struggling with the problem that I cannot receive the verification link sent by SheerID, I believe this issue will be fine soon.
One question:
Should I drop the course at this stage to avoid the fee?
I did not but they did drop me out due to unverfied info. But my aim of enrollment was only to access the full activation of the edu email and to successfully get the student benefits. Which i got already.
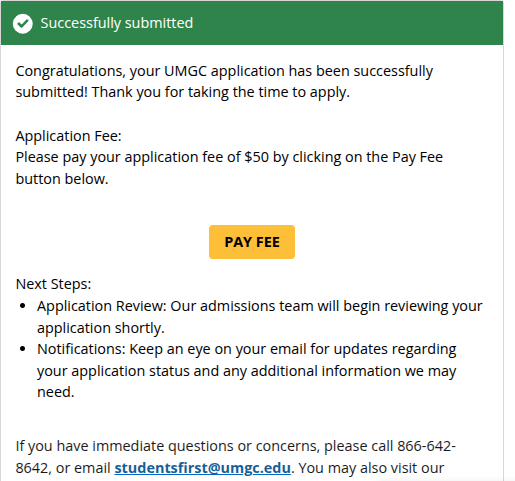
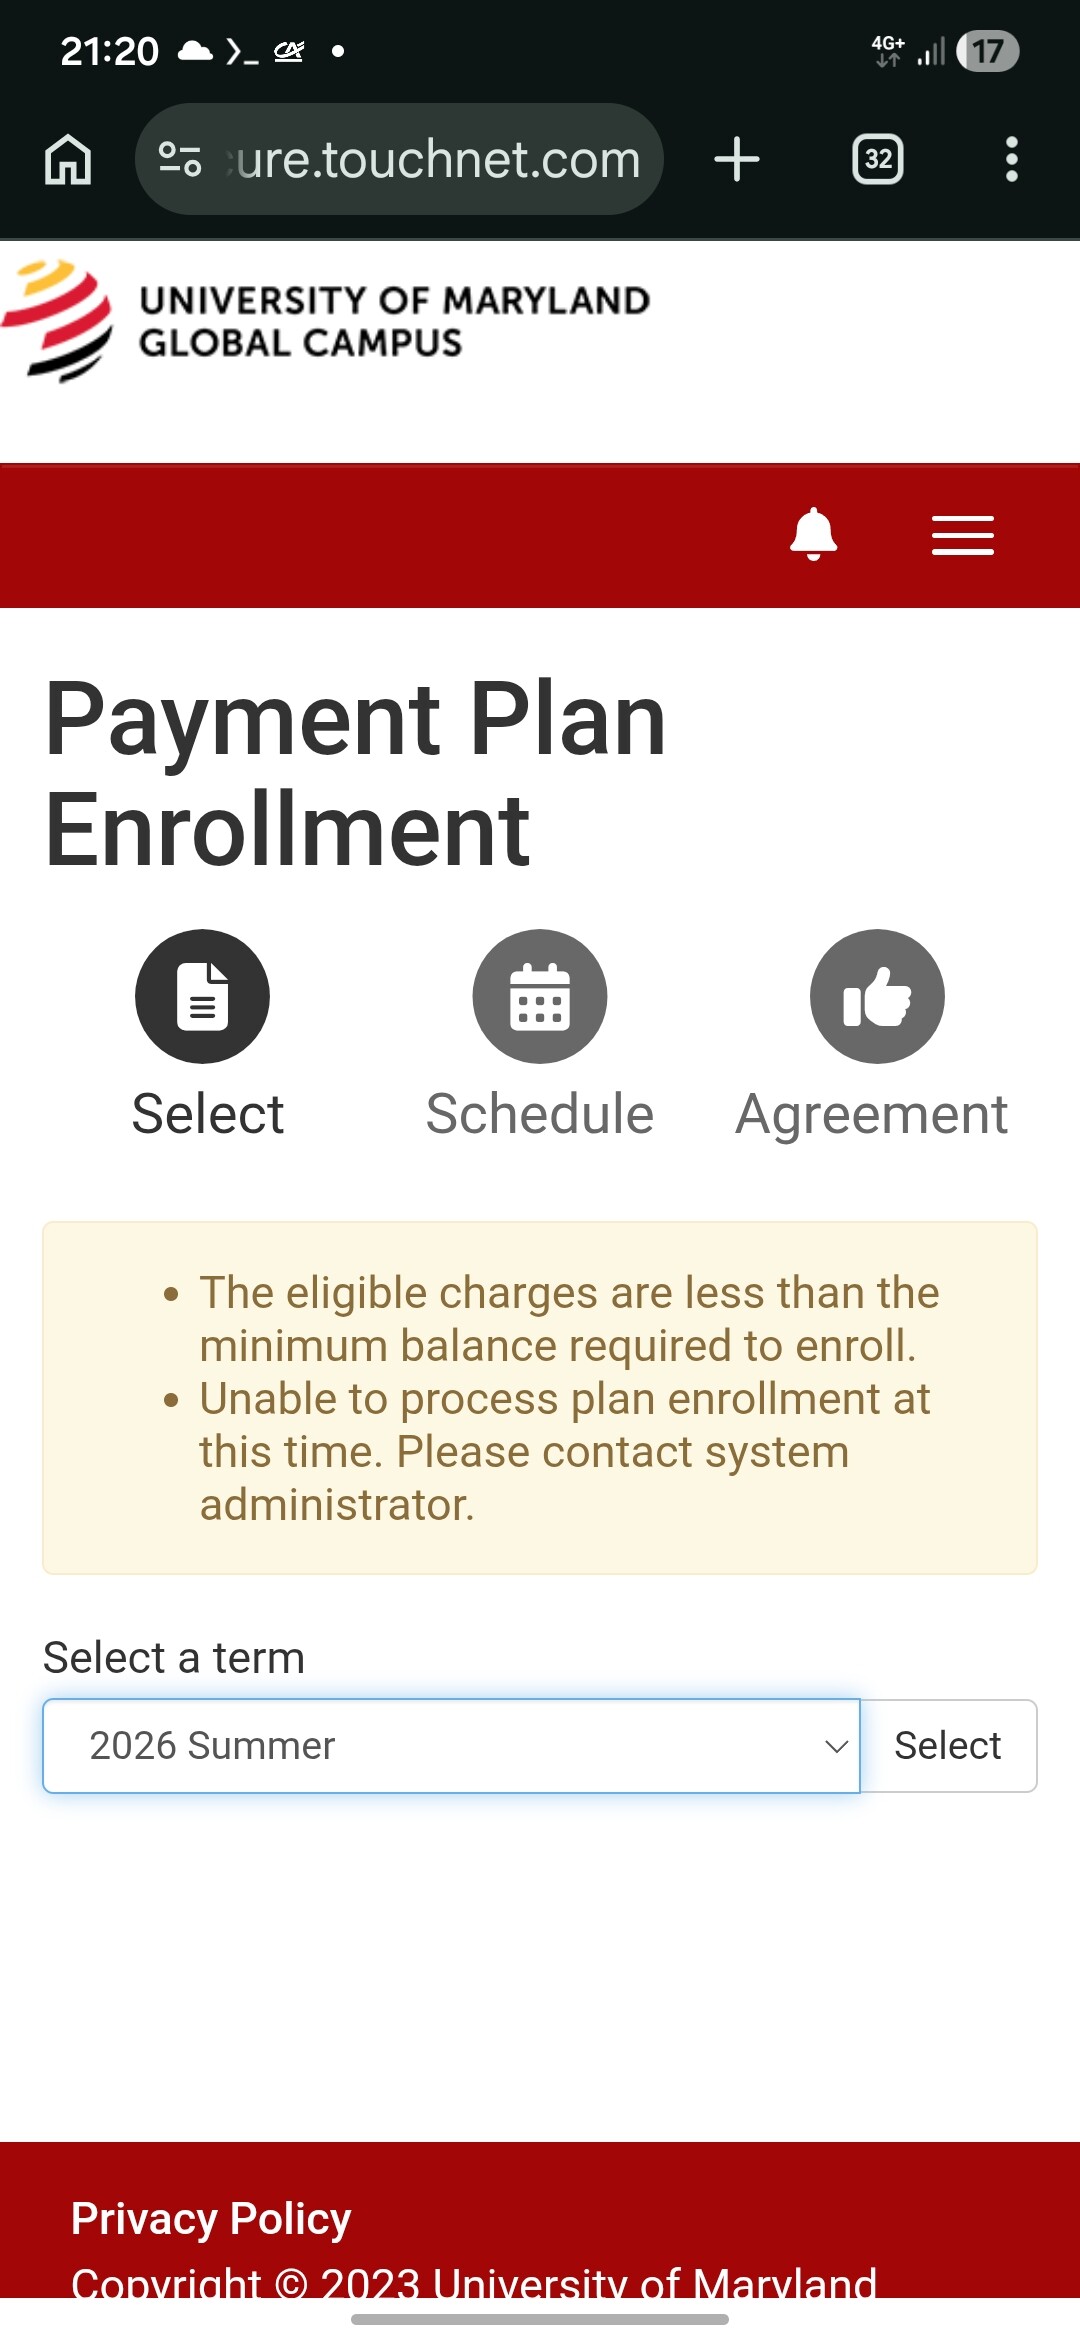
Update: Just a few things in the meantime, the fee waiver offer is no longer active, and a $50 admission fee will now be required. GitHub is currently not accepting applications for this, and SheerID has been rejecting documents for benefits activation despite multiple attempts with all methods, so it’s a dead end for now.
Stop trying, and wait for a new university and a new post.
Admissions are getting flagged due to mass applications.
They gave me 30 days to do identity verification. My edu email is working. So after 30 days will it be disabled and I will not have access to my email no more?
They gave me 30 days to do identity verification. My edu email is working. So after 30 days will it be disabled and I will not have access to my email no more?
They gave me 30 days to do identity verification. My edu email is working. So after 30 days will it be disabled and I will not have access to my email no more?
Look over the class prerequisites, and if you see another course listed as a requirement, skip it and pick a different option. Keep trying various courses until you manage to enroll in one.
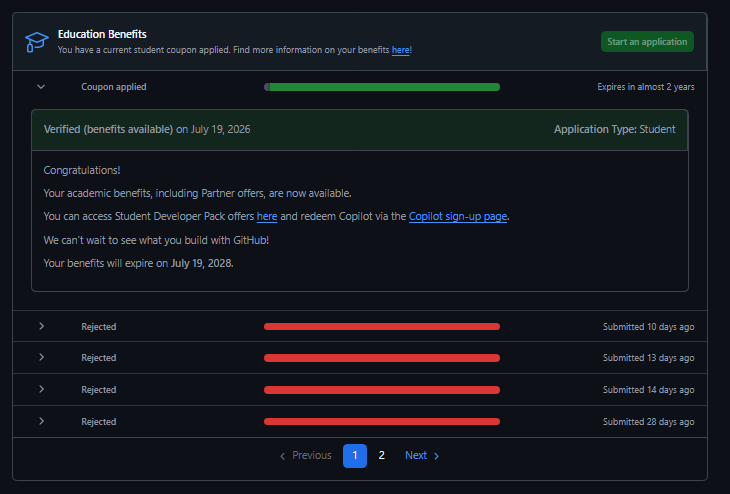
After getting rejected 6 times in a row, I finally managed to get my GitHub Education Benefits approved! I wanted to share a few practical takeaways and technical steps that worked for me during this trial-and-error process.
Key Lessons Learned & Steps Taken:
1. Match Your Name Exactly (Wait 24 Hours)
Before starting the application, change your GitHub Account First & Last Name to match the exact details registered on your .edu account.
Pro Tip: Let at least 24 hours pass after updating your name before submitting the application.
2. Align Your Device Time Zone
Change your device’s Time Zone to match the physical location/region of the institution on your edu account.
3. Language Settings
Remove any extra display languages from your device settings and make sure your primary system language is set to English (United States).
Adjust your browser’s location settings so it matches your school’s physical location.
Method A (DevTools): You can override your location directly without extensions via Chrome Developer Tools:
Press F12 (or Inspect).
Open the command menu (Ctrl+Shift+P / Cmd+Shift+P).
Search for “Sensors” and set a custom latitude/longitude corresponding to your campus coordinates.
Method B (Extensions): Alternatively, use a browser extension (I personally used Change Geolocation (Location Guard)).
For Mobile Users: If applying on a smartphone, use a mobile browser that supports extensions/DevTools (like Kiwi Browser or Firefox Android) so you can apply these location changes.
5. Android & VPN Setup (If applying via Android)
If you are submitting via an Android device, in addition to the steps above, you can use Windscribe VPN with its GPS Spoofing feature enabled.
Also, turn on Decoy Traffic in the VPN settings so your outgoing data packets aren’t easily flagged as VPN traffic.
6. Print Physical Copies of Documents
Always print out a physical paper copy of the documents/student IDs you plan to submit instead of capturing screens or uploading digital files.
Hope these personal takeaways help anyone else who’s currently stuck in the verification loop. Good luck!
Special thanks to the creator who shared the original guide on creating the .edu account—your method laid the foundation for this!
 Finally Got My GitHub Student Developer Pack Approved After 6 Attempts! (My Experience & Tips)
 Key Lessons Learned & Steps Taken:
 Match Your Name Exactly (Wait 24 Hours)
 Align Your Device Time Zone
 Language Settings
 Browser Geolocation Adjustment & DevTools Spoofing
 For Mobile Users: If applying on a smartphone, use a mobile browser that supports extensions/DevTools (like Kiwi Browser or Firefox Android) so you can apply these location changes.
 Print Physical Copies of Documents
 Special thanks to the creator who shared the original guide on creating the .edu account—your method laid the foundation for this!
 !
!