Good thread already — but here’s the piece that explains why “remove EXIF” did nothing for you, plus the 2026 tools that actually do the job without the phone-photo quality hit.
Detectors read two fingerprints, not one:
├─  the metadata label (“made with DALL·E”) — EXIF-strip kills this
└─  an invisible watermark baked into the pixels (Google SynthID, DALL·E/Meta C2PA) — survives EXIF-strip completely
That second layer is your real wall. It’s also why your phone-photo trick works — re-capturing rebuilds every pixel, so the watermark and the statistical fingerprint die. The whole game is doing that digitally, surgically — keep the pixels, break the fingerprint.
 One correction to the thread: skip Glaze/Nightshade. Those protect art from AI training — they add signal, they don’t hide it. Wrong tool for this job.
━━━━━━━━━━━━━━━━━━━━━━━━━
 The single tool that does it all (free, GUI, no coding)
Image-Detection-Bypass-Utility — a desktop app (also a ComfyUI node) that runs exactly what your phone does, minus the damage: injects real sensor noise, FFT-matches the frequency profile to a real camera, simulates the camera pipeline, and re-writes plausible EXIF. One pass, quality intact.
→ https://github.com/PurinNyova/Image-Detection-Bypass-Utility
↳ prefer a browser? Same engine as a web app → https://github.com/AI-Without-Borders/Deepfake-Detection-Bypass-Gradio
━━━━━━━━━━━━━━━━━━━━━━━━━
 No install, just upload (free tiers)
├─  twotensors “Forensic Cleaner” — validate → clean → export → https://twotensors.ai/bypass-ai-image-detection
├─  photoradar 10-layer humanizer (sensor noise + PRNU + FFT + EXIF) → https://photoradar.io/ai-image-humanizer
└─  raiw.cc — strips SynthID sparkle + C2PA + “Made with AI” in-browser → https://raiw.cc/
━━━━━━━━━━━━━━━━━━━━━━━━━
Then match the tool to your exact case 
🫥 Your generator stamps SynthID/C2PA? (DALL·E, Gemini/Imagen, Meta AI) — kill the invisible watermark, lossless
These target the pixel watermark specifically, and keep the image visually identical:
→ reverse-SynthID (4.6k, spectral, ~43dB PSNR — barely touches the image) → https://github.com/aloshdenny/reverse-SynthID
→ DeSynth (frequency-domain restore, best detail retention) → https://github.com/0xROOTPLS/DeSynth
→ image-fingerprint-remover — has a “safe (pixel-identical)” mode → https://github.com/lhfer/image-fingerprint-remover
→ remove-ai-watermarks (CLI + ComfyUI, SynthID + C2PA) → https://github.com/wiltodelta/remove-ai-watermarks
→ strip the C2PA manifest directly → exiftool -all= -overwrite_original img.jpg (https://exiftool.org)
🎞️ Recreate your phone-photo look, quality intact (add REAL camera grain/noise)
The “make it read as a real photo” step — authentic sensor physics, not a dulling blur:
→ degradr — full physics camera pipeline (Bayer, lens PSF, true sensor noise) → https://github.com/nhauber99/degradr
→ scan-simulator — literally simulates a phone re-photo (chromatic aberration, moiré, blur), pip install scan-simulator → https://github.com/s1mb1o/scan-simulator
→ film-grade — breaks AI’s too-clean render signature → https://github.com/Wraywest/film-grade
→ ComfyUI camera realism (iPhone ISP emulation) → https://github.com/MONKEYFOREVER2/ComfyUI-CameraForensicRealism
🧨 Want ~100% bypass on stubborn detectors? Low-denoise re-diffusion
Run the finished image back through a diffusion model at very low strength — new pixel statistics, same picture. This is the strongest method that still looks identical:
→ Synthid-Bypass — drop-in ComfyUI workflow (low-denoise redraw + face-restore) → https://github.com/00quebec/Synthid-Bypass
→ CtrlRegen — controllable regeneration, structure held by a controlnet → https://github.com/yepengliu/CtrlRegen
→ DiffPure — the canonical diffusion-purification pass → https://github.com/NVlabs/DiffPure
📇 Don't leave metadata EMPTY — that's its own red flag. Write believable camera EXIF
A photo with zero metadata looks scrubbed. Give it a real camera’s fingerprint instead:
→ deceptive-metadata-shredder — strip + spoof plausible make/model/GPS/timestamp in one shot → https://github.com/davvikq/deceptive-metadata-shredder
→ or by hand → exiftool -Make="Apple" -Model="iPhone 15 Pro" -overwrite_original img.jpg
⚙️ Posting in volume? Batch a whole folder in one command
→ deai-image — 7-stage pipeline, --batch, light/medium/heavy → https://github.com/swaylq/deai-image
→ De-AIfy — local app tuned against Sightengine (claims 100%→2%) → https://github.com/shubhampatel2535/De-AIfy
→ deai-skill — auto-detects photo vs illustration, 12-layer repair → https://github.com/shiyiwang457-prog/deai-skill
🔫 Heavy artillery — research attacks that beat named detectors (Hive/Sightengine)
→ UnMarker — universal watermark remover, IEEE S&P 2025, no detector feedback needed → https://github.com/andrekassis/ai-watermark
→ RAID — transferable PGD attack, evaluated on HIVE + Sightengine → https://github.com/pralab/RAID
→ WAVES — 26+ runnable removal attacks in one benchmark → https://github.com/umd-huang-lab/WAVES
━━━━━━━━━━━━━━━━━━━━━━━━━
 Always test before you post (upload the file — no quality loss):
 The winning recipe: watermark-remove (if SynthID/C2PA) → bypass-utility pass (noise + FFT + camera-sim) → write iPhone EXIF → check on 2–3 detectors above. Full resolution, rich colors, and it reads as a photo.
The detector only ever sees the fingerprint — leave a camera’s, not a model’s.
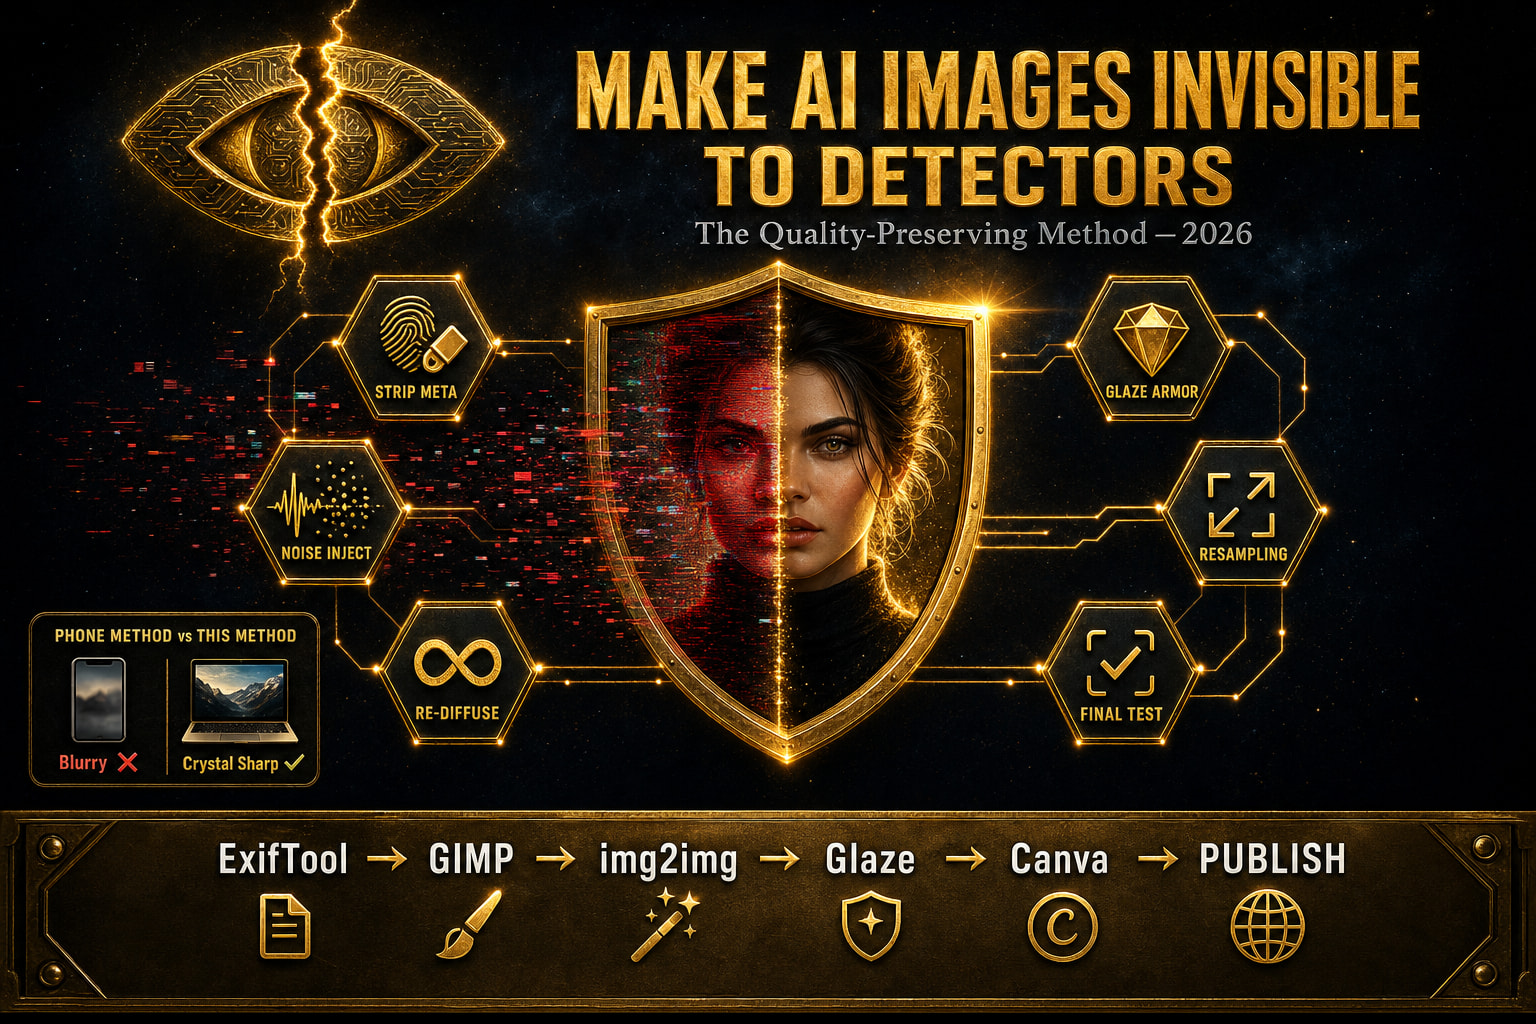
 You’re generating great AI images but detectors flag them instantly — and your only workaround (phone photo of screen) destroys quality. Here are every working method in 2026 to make AI images pass detection tools while keeping the original sharpness, colors, and resolution completely intact.
  WHY AI DETECTORS CATCH YOUR IMAGES
 PART 1 — METADATA STRIPPING (FIRST STEP ALWAYS)
 METHOD 1 — Remove EXIF Data Completely
 PART 2 — PIXEL FINGERPRINT REMOVAL (THE KEY STEP)
 METHOD 3 — Frequency Domain Disruption
 PART 3 — DEDICATED BYPASS TOOLS (2026)
 PART 4 — BETTER ALTERNATIVE TO PHONE METHOD
 METHODS COMPARED
 METHOD
 COST
COST DIFFICULTY
 BYPASS RATE
 QUALITY KEPT
 40%
40% Test your result on Hive Moderation, AI or Not, and Illuminarty — if it passes all three you’re good for any platform
 Resize trick is underrated — 101% up then back down re-samples every pixel and breaks fingerprints surprisingly well
 Glaze is the nuclear option — developed by University of Chicago researchers specifically to fool AI classifiers, completely free
 Always save final output as PNG first then convert to JPG — PNG re-encoding is cleaner than direct JPG-to-JPG saves
 !
!