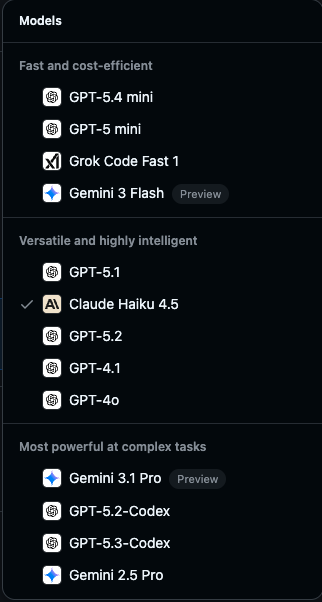
Since March 12, students lost Claude Opus 4.6, Sonnet 4.6, and GPT-5.4 — teachers kept everything. That’s why this matters now more than ever. The verification is fully automated — no human reviews it. It checks three things: your name matches across your GitHub profile + billing + uploaded document, your school is in their dropdown list, and there’s a current date visible. That’s the whole gate. 
📋 The Method — What the $100 Sellers Won't Tell You for Free
The verification lives at Settings → Education → Start Application → Teacher. Your account needs to be 30 days old (not 7 — that’s a myth).
What you need ready before you start:
| Piece |
Why it matters |
The detail that counts |
| GitHub profile name |
System cross-references your profile against your document |
Must be character-perfect — same accents, same titles, same spelling |
| Billing name |
Second cross-reference point |
Go to Settings → Billing → match it exactly to your profile |
| A school from the dropdown |
The institution must already exist in GitHub’s database |
Browse the list first at the application page — if a school isn’t listed, it won’t work for that one |
| One document |
Employment letter on letterhead OR a pay stub from the last 90 days OR a faculty ID with a visible date |
Letter is the easiest — it just needs your name, the school’s name, and a current date on official-looking letterhead |
Step by step:
1 → Set your profile name and billing name today. Make sure they’re identical to whatever name will appear on your document. If you have accents in your name (like ř or ñ), try the version WITHOUT accents everywhere — the OCR chokes on diacritics.
2 → Add an email that matches the school’s domain to your GitHub email settings if possible — speeds up approval from days to hours.
3 → Go to github.com/settings/education/benefits. Select Teacher. Pick the institution from the dropdown.
4 → Upload your document. If the camera tool keeps looping with no error → switch to a different device entirely (phone if you were on desktop). An Upload button sometimes appears after repeated camera failures — use it with a clean, well-lit shot. Leave space around the document (one document-width of border on each side).
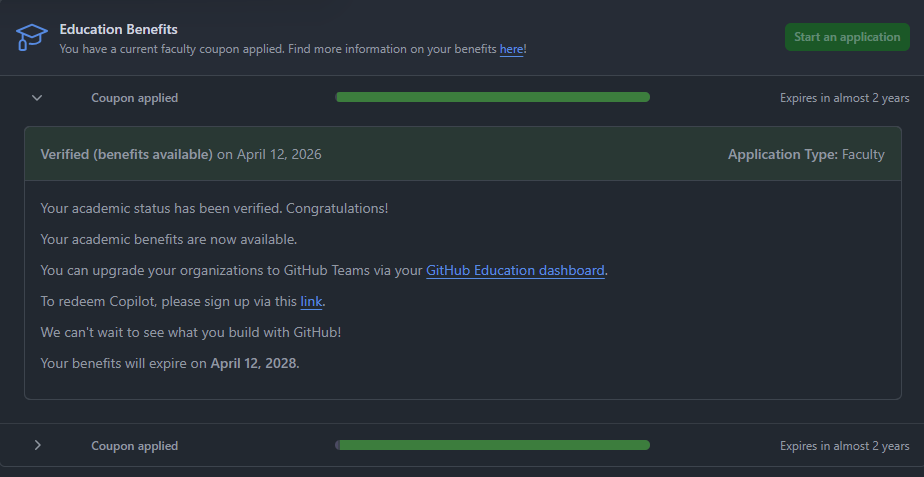
5 → Wait 3-12 days for the email. Once approved, Copilot Pro activates within 72 hours at github.com/settings/copilot.
 The name trick that saved a teacher 23 attempts: Remove PhD/Dr/titles from everywhere — your profile, your billing, AND your document. The system tries to exact-match and titles create phantom mismatches.
The device trick: If you get rejected, resubmit from a completely different device with a different document image. Same file + same device = same result. Different device breaks the loop — confirmed by multiple users.
🚪 The Backdoor — Full Copilot Pro Without Any School at All
GitHub gives the exact same Copilot Pro to maintainers of popular open-source repos. No documents, no school, no application. It checks automatically every month.
The threshold based on community data: roughly 7,000+ stars with meaningful downstream dependents. Check if you already qualify at Settings → Copilot — if eligible, you’ll see a banner offering free Copilot Pro.
Not there yet? Even repos in the 3,000-5,000 star range have been reported as qualifying when they have high dependent counts (other projects that rely on yours). Language-specific ranking matters — a 5k-star project in a niche language ranks higher than a 5k-star JavaScript project.
You said you’d share findings with the community once you figure it out — did you already try submitting, or are you still in the document prep stage? 

 .
. Free .edu Email That Passes SheerID — Spotify, GitHub, Apple Music, All of It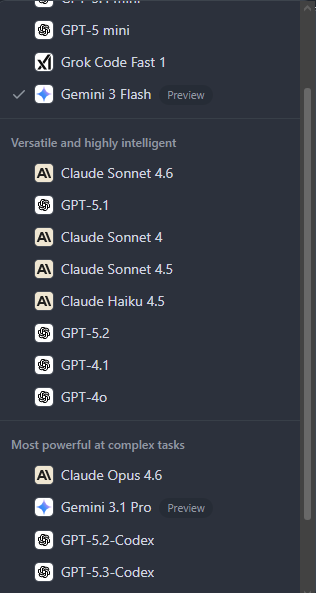
 !
!